I have a vintage "Derby" brand single speed coaster brake bicycle with metal fenders. It was probably made in the 60s or 70s and sold by Pep Boys. The design is similar to the classic Schwinn Speedsters of the same era.


I really like the bike but have a hard time trusting the chain during downhill braking, so I wanted to add a front brake.
Hopefully this will help people who are wanting to add a front brake to their vintage bicycles.
First make sure there is a mounting hole for the brake on the fork. You can tell this model was designed for a brake by the hole and also the indentation in the fender.

Get the parts you will need from a used parts shop, I got all the items from the Recycled Cycles Fremont location in Seattle for about $20.
Center Pull Brake [bolt, 2 spacers, pads]

Make sure the brake fits over your fenders and that the pads touch the metal part of the rim when closed. I happened to find a "Center Pull" style brake that fit. If you find a side pull style you won't need the Cable Carrier or Cable Hanger, just a longer Cable Housing.
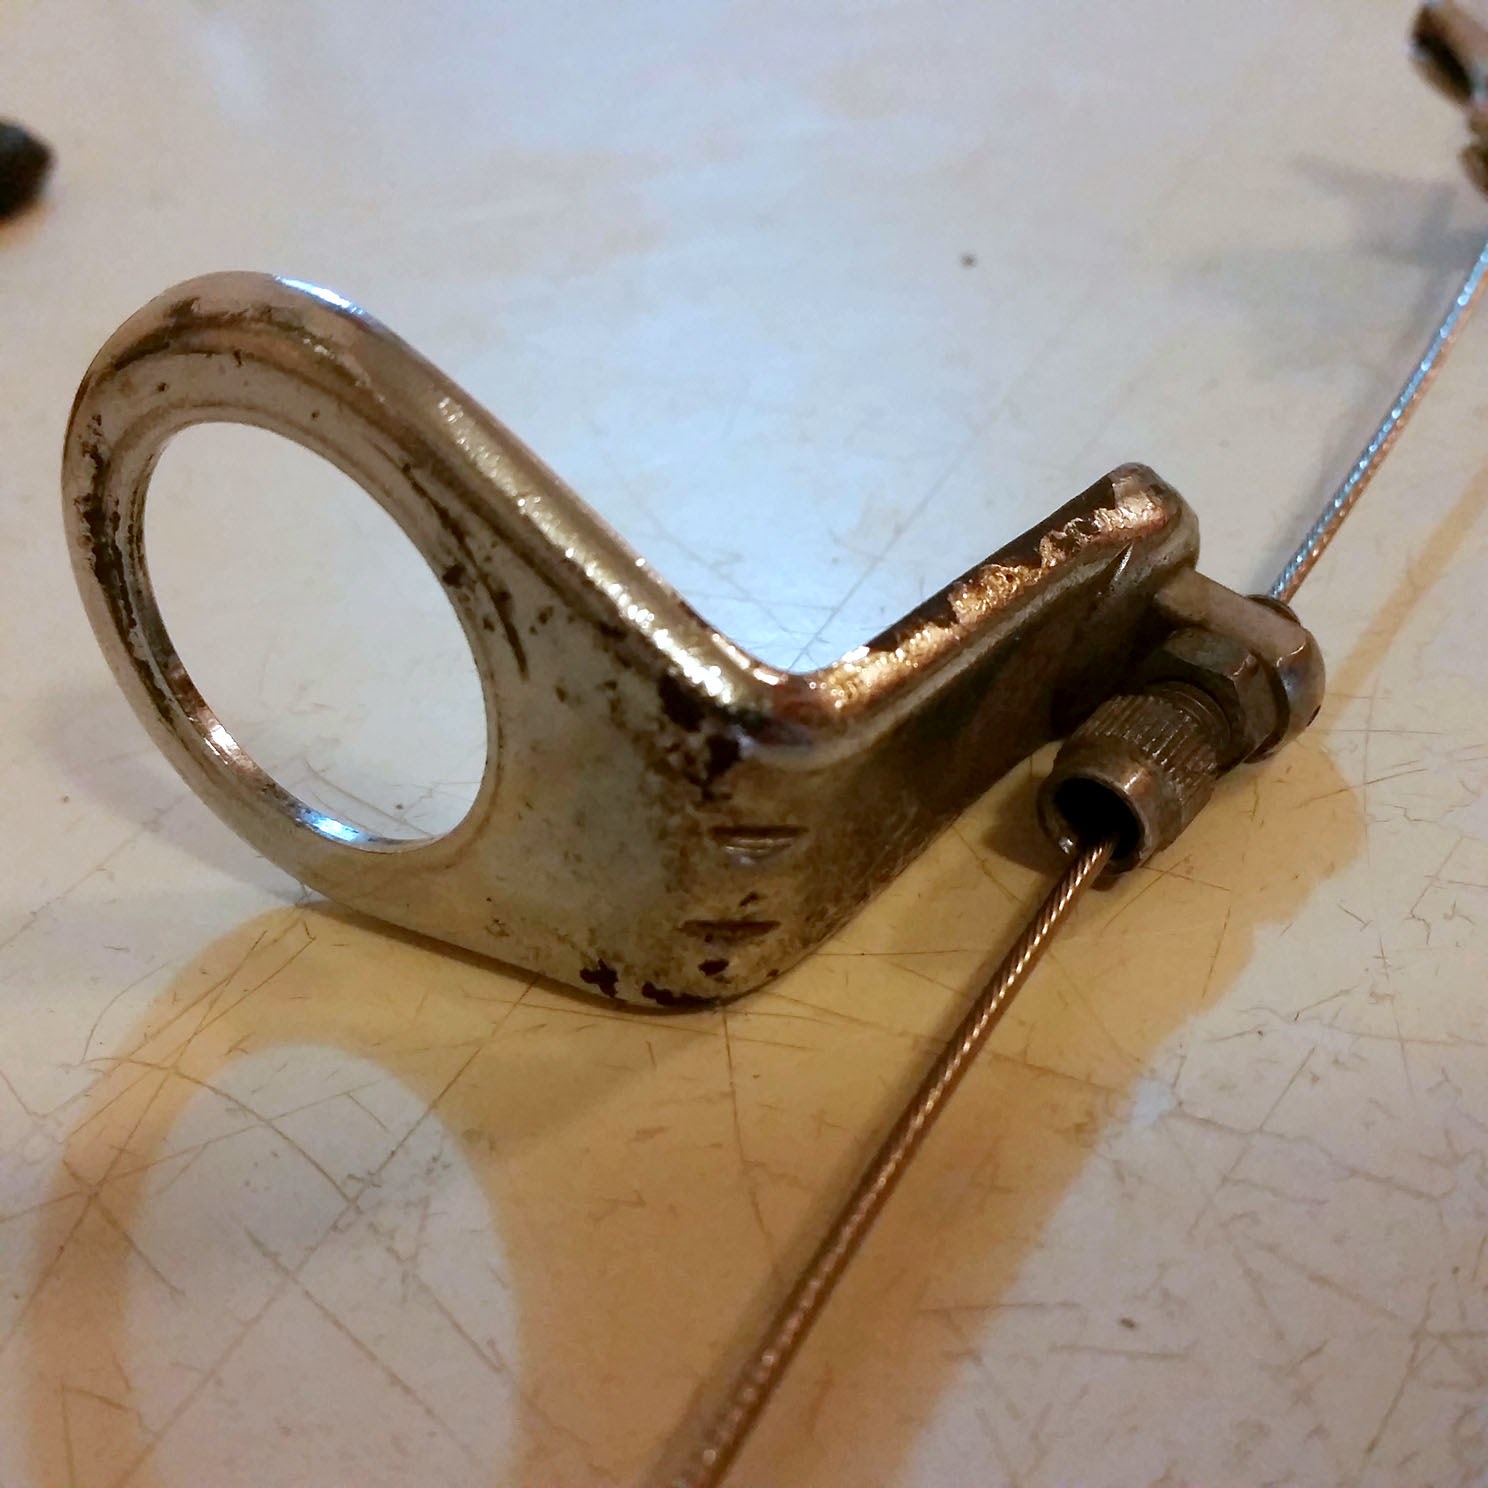
Cable Carrier

Cable Hanger
Brake Lever - Make sure this will fit on your handlebar, I'm not sure if there are different sizes.


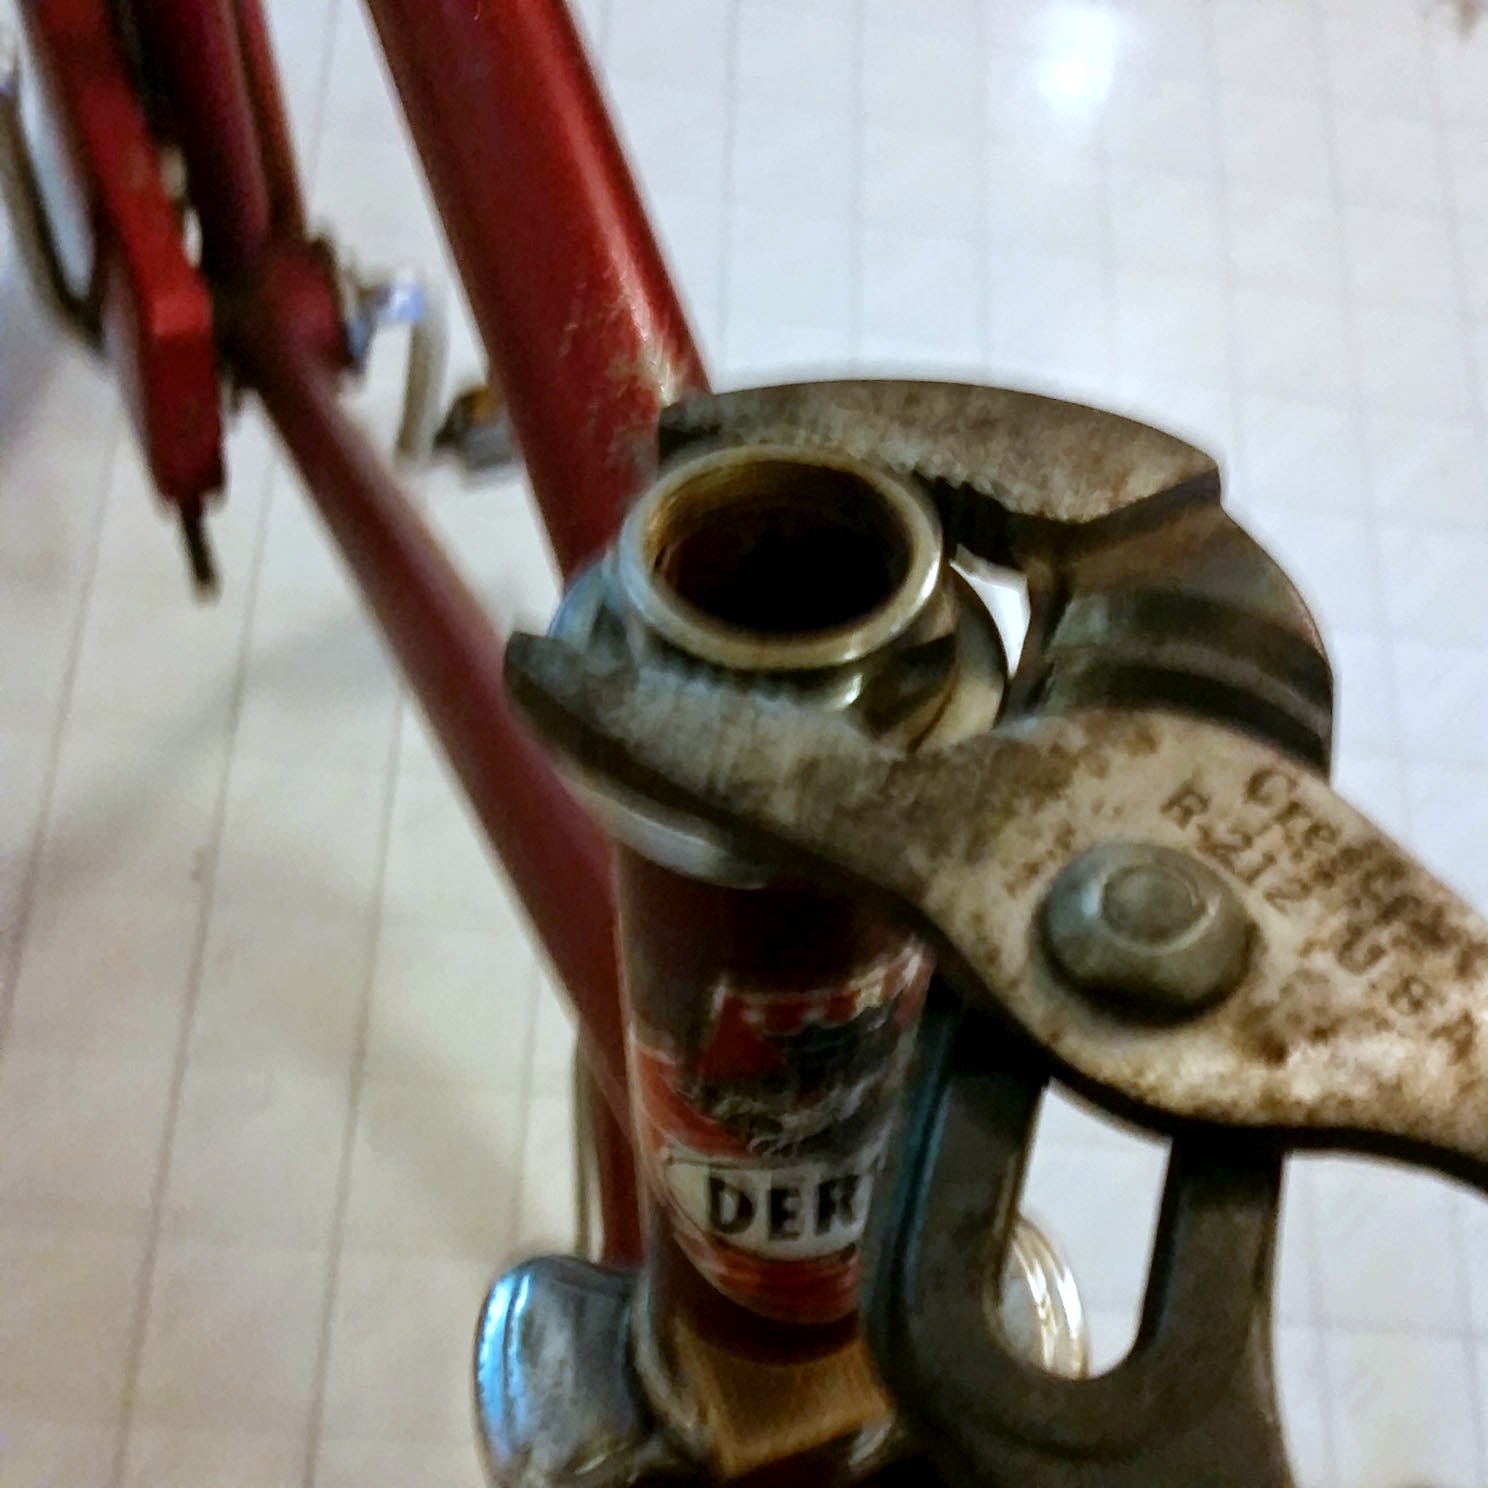
To install the cable hanger you have to remove the handlebars. (only necessary for center pull style brake)
Unscrew the top bolt between the handlebars a few turns and give it a firm downward tap to remove the handlebar stem.


Attach the Brake


Remove the handlebar grip by twisting and pulling, attach the brake lever and tighten in desired position.


Give a some good squeezes on the brake lever and do some test braking to stretch the cable out. Afterwards adjust the cable carrier bolt to take up the slack.


Bonus images found around the web showing the most info I was able to find on this model.


No comments:
Post a Comment